How to Feature Updates and Resources with Bootstrap Boxes
Bootstrap Boxes provide a simple, modular solution for adding new sections of content to a web page.

Boxes. We use them to hold all kinds of things. They're simple, well-structured, and have endless applications. When you're moving, for example, you pack stuff in boxes and label them based on their content. Then you call your friends, hoping they'll help lift a few in exchange for pizza.
Websites are boxes, too, and they're generally composed of even smaller boxes (or containers) of content. And by using Bootstrap, you have a modular framework for adding new boxes wherever you need new content components. Again, very handy to have around.
Whether you have a website with frequently updated resources like schedules – or you just want to add a new section to your page without disturbing the rest of the layout – Bootstrap boxes are a great solution. They allow you to elegantly organize content with ease and customize links and actions. This includes everything from updating map routes to creating a contemporary shopping cart layout.
In this tutorial, we'll show you how to feature your updates and resources using Bootstrap Boxes. We've included all the code and direction so you can get started right now. And feel free to ask us questions in the Disqus below.
Just don't ask us to help you move.
Getting Started
The CDN links below are will get you to all of the necessary Bootstrap files. Go ahead and place them in your project's file inside the head tag:
HTML
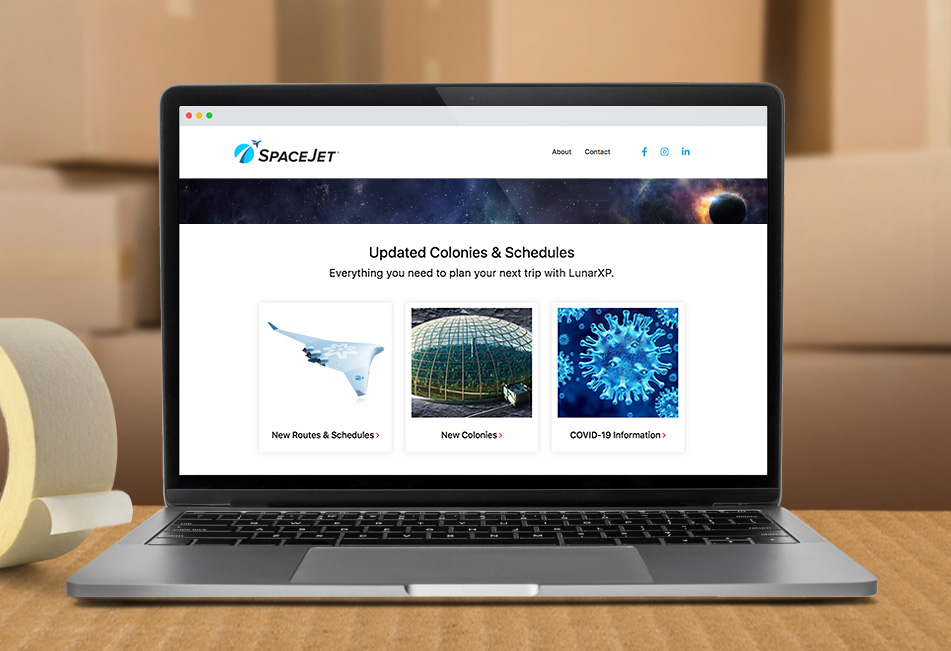
The HTML structure is a three-column layout to hold three boxes for individual links. If you'd like to have a different number of columns, you can change the classnames of the columns from .col-md-4 and use .col-md-6 for a two-column layout or .col-md-3 for a four-column layout. Inside each column, there is an a tag that contains both the image and the link. This is so that a user can hover their mouse anywhere inside the box and click on the box to visit the link.
CSS
The CSS code below is mostly for styling such as the colors and font sizes. Feel free to replace these values with your own to make the section match the design of your website.
And there it is! Check out the JSFiddle example below to see how it looks before committing to use:

Paris Tuzun
Contributions Editor here at Solodev. Want to be featured on the Solodev Blog? Get in touch.
Follow me on Twitter


