Building Your First Solodev Manager: Part 2
This post is the second half of a two-part series to walk you through the ins and outs of the Solodev platform and how to operate the manager system like one of our Solodev pros!


In our first post, we talked about the importance of website managers and how to develop them in Solodev. Miss the first post? Read up on the basics of building a manager within the Solodev CMS here.
Our Part 2 is all about creating the frontend templates that are critical to showcasing the data stored in the new manager you created. The perks of using Solodev for building out a manager? We have an intuitive and documented shortcoding system. This allows you to access your data without struggling with much code.
Here's how:
Repeater HTML
At a high level, a "repeater" is an overview or index page for your manager dataset. This allows you to pull in all applicable entries from your data manager. With the manager we created in Part I, you can use the following HTML for your repeater:
To create your repeater file, navigate to the area in the backend where you want save this code snippet (Preferrably under the "Web Files >> Content" folder that corresponds to the page in question. Click on "Add >> File", give the new file the title of "team-repeater.tpl", and paste the above code in the HTML into the code editor:

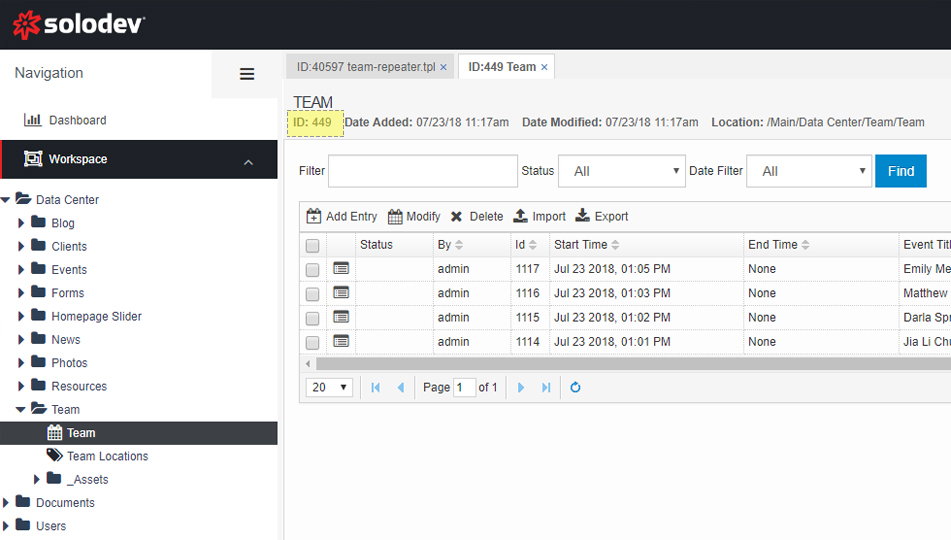
You will need to make one slight change. Change the "id" value in the repeater shortcode to match the manager ID you created in Part I. This ID can be found when you open up the manager in your workspace:
Once your changes have been made, create a corresponding STML page where you want to display your manager data. Navigate to the appropriate place in the "www" folder, click on "Add >> Page", and then embed your "team-repeater.tpl" into the appropriate dynamic div. To do this, highlight the dynamic div in question, find the "team-repeater.tpl" file in the left navigation, and click on that file to insert it into the page:
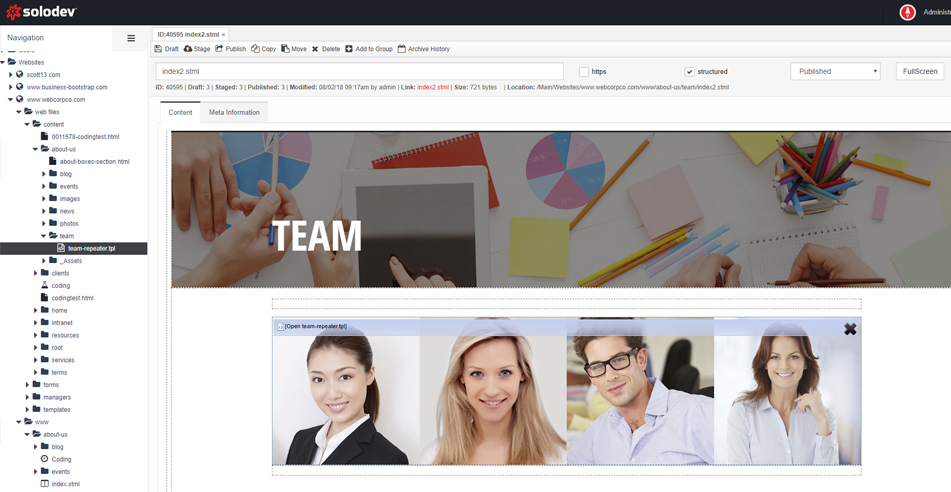
Once your repeater file is included in the STML page, click on the "Publish" button to save the page.
Breaking Down the Repeater
As you can see from the the source code, you can utilize Solodev's inherent shortcode system so that you don't need to use any complicated code snippets. In fact, you can create and stylize your repeaters with just a little bit of Bootstrap knowledge (no advanced PHP or MySQL knowledge needed!). The "repeater" shortcode, as the name implies, is used to display information for an entry and repeat for all applicable entries in your manager.
The shortcode uses the following attributes to better pull in the data from your manager:
Repeater CSS
You can use the following CSS to style your repeater's display:
And with that you should have a fully functional Solodev manager that displays information on the frontend of the website. While this series has covered creating a relatively simple manager and dataset, its important to remember that techniques shown here can be used to build out a seemingly infinite amount of complex data managers and view types. Blogs, Photo Galleries, Events Calendars, Location Listings, and more are all possible with a backend manager form and a frontend display powered by shortcodes. This ultimately gives you and your organization full customization capabilities to meet your exact needs.

Scott Madara
Contributions Editor here at Solodev. Want to be featured on the Solodev Blog? Get in touch.
Follow me on Twitter


