Using Font Awesome Icons with your Website
Adding icons to your site’s content provides a visual focus point that grounds a user to a specific section and accompanying content.

The use of icons in web design is a proven method to modernize a website and help direct user flow. Adding icons to your site’s content helps a user better process the information you’re trying to convey and provides a visual focus point that grounds a user to a specific section.
Graphical icons can be used in any number of ways to spice up your web design project. You can use them as visual accompaniments to text areas or as standalone links in situations where space is tight and text blocks aren’t feasible within the design. It’s this versatility to icons which makes them both so useful and widespread.
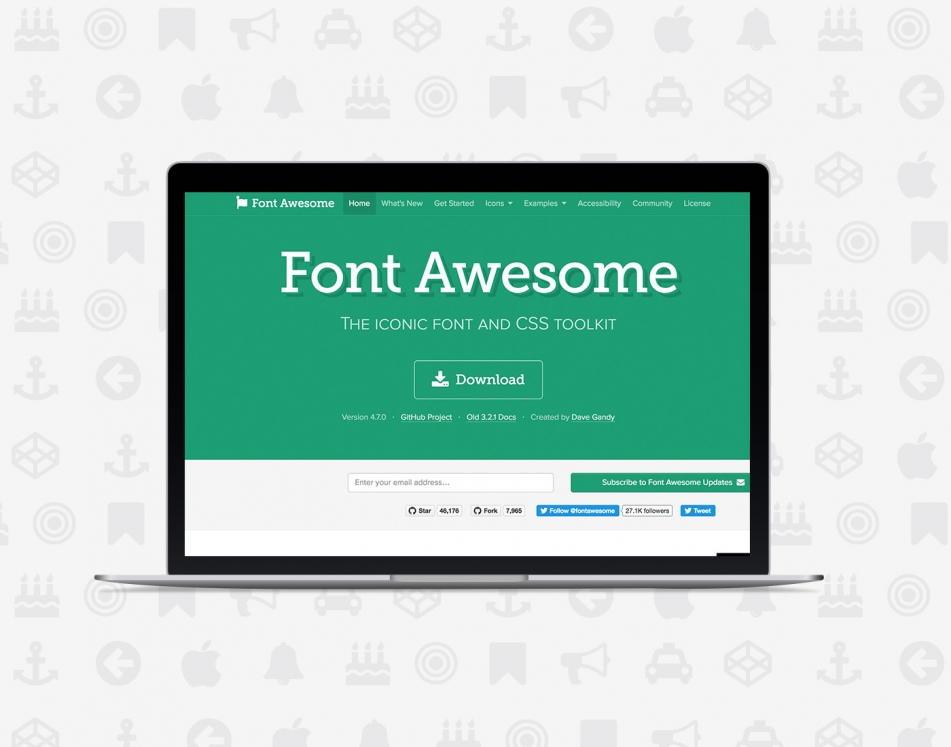
Fortunately, there’s no need to go about producing your own icon set. Font Awesome provides a versatile framework that incorporates nearly any icon graphic you can imagine along with needed scalability and customization capabilities. Font Awesome will almost assuredly save you time and money in your application of specific icons. The following article will walk through incorporating Font Awesome icons to optimize your web design project.
Step 1 - Add the necessary includes to your webpage
To begin, you first will want to ensure the following Font Awesome resources are included on your site. No downloading or complicated scripts are needed--just one reference of the Font Awesome CSS will get you started.
Step 2 - Incorporate a chosen icon
Font Awesome includes hundreds of icons to use, covering a wide range of subjects and content. For the purposes of this tutorial, we'll incorporate the RSS icon . Simply include the following code in your page wherever you want an icon to show.
Each icon uses the < i > tag and requires two classes. The first, "fa", identifies the element as a Font Awesome icon and the second, "fa-rss", identifies the specific icon to load. To use different icons, just find the appropriate CSS class.
Step 3 - Use built-in customizations
Font Awesome has a number of built-in ways to customize your icon such as increasing its size, ensuring the icon has a fixed width, or adding animation to a select class of icons. The below code will render the "Support" icon in a number of sizes.
Step 4 - Add any unique customizations
Since these icons are entirely powered by CSS, you can add your own custom styles and classes to completely make an icon work within your web design project. For example, you can make the "Film" icon red.
By following the above steps, you'll have a solid foundation to start incorporating icons into your website. Be sure to only use icons where it makes sense. As with other visual elements, overuse defeats the intended purpose and can distract from your site's design.
As many others have discovered, we here at Solodev have had great success using icons to augment or designs and build amazing websites.

Matthieu McClintock
Contributions Editor here at Solodev. Want to be featured on the Solodev Blog? Get in touch.
Follow me on Twitter


