How to Build a Contact Form in Solodev
Forms are a major source of lead generation for your marketing efforts. Here's how to create a form of your own within the Solodev CMS platform.

This post is the first in a series on our blog called Solodev 101 -- posts intended to help you become more accustomed to our platform! Have suggestions as to what you'd like to see? Leave a comment at the bottom of this post, and we'll bring your suggestions to life!
Forms -- arguably the most important part of any website’s lead generation strategy. Forms allow website visitors to get in touch with your business and can be used in a myriad of ways. They’re great for accessing gated content, processing a request, or transferring information into another third-party marketing platform.
Web forms are yet another way to bridge the gaps between your company and your website visitors. That's why the Solodev CMS allows its users to quickly and efficiently bring forms to life on our clients' websites.
Things to Consider While You’re Developing Your Form:
Why are you putting a form on your website?
Determining how you want your website user to engage with the form will greatly help how you lay out the form itself. Are you getting contact information for a newsletter? Providing access to gated content? Gathering data for your automated marketing tool?
While having a form is a great way to boost engagement between your users and your website, having a form randomly placed on an unrelated page won’t encourage people to engage with it.
What information do you need from that form?
Never ask your website visitors to fill out more boxes than they really need to. For example, if you don’t need to know a web visitor’s age, don’t put Age as a box on the form -- despite it being a common question on some other websites. The shorter the form, the more enticed your visitors will be to fill it out. Filling out 3 boxes requires less work than filling out 13 information boxes.
Despite the amount of business conducted online each day, most people are still incredibly hesitant to filling out too much information online. The more information they'll have to submit, the less likely they'll want to fill out the form.
What could be points of confusion while someone is filling out your form?
Make sure your website visitors are clear in what you’re asking of them. When your form asks for “NAME,” will you accept just a first name? Only a last name? Does it have to be both first and last? Make sure your form’s copy and flow are both logical and clear to your website visitors.
How would this look on a mobile device?
With a growing majority of people visiting websites via a smartphone or tablet, mobile-responsive websites are expected rather than a surprise. If a form doesn’t render logically on a smartphone, visitors will be less inclined to fill out the form.
Now that you have a better idea of the answers to these questions, here's how to build a contact form within the Solodev CMS:
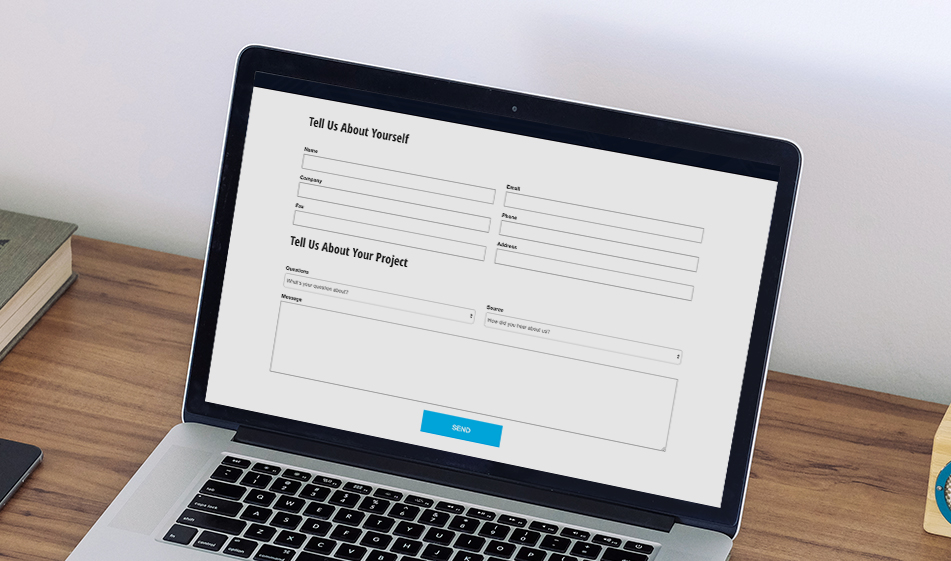
Create a Simple Form File
Start by creating a simple HTML file that has all of your form fields. You can use the following HTML to get started and save your file as "contact-form.html".
In the above HTML, we're just using standard Bootstrap classes so there's no complicated syntax needed. Of course, feel free to customize to meet your individual site's needs.
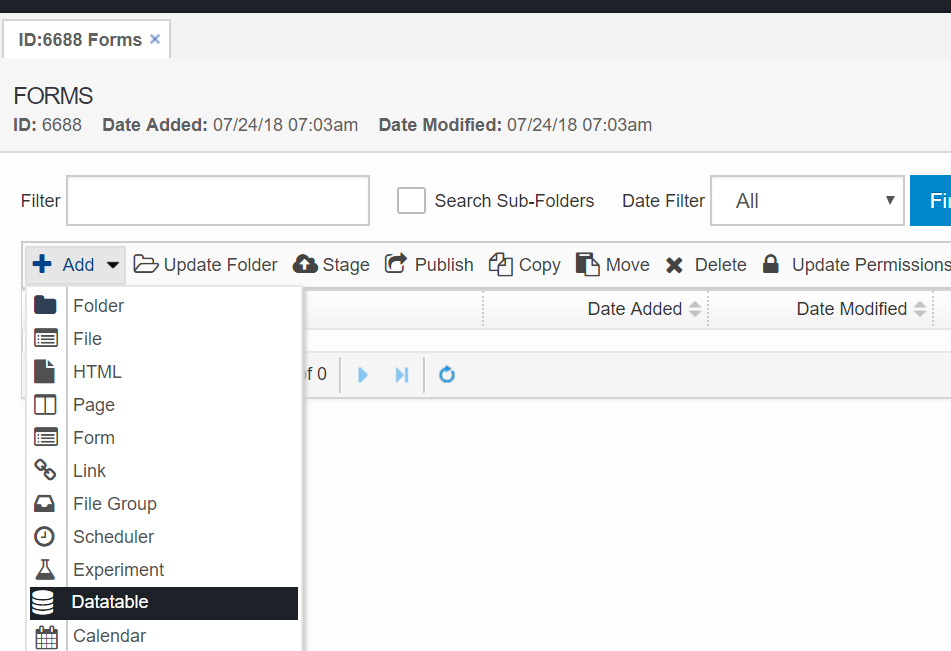
Create a New Datatable
With the form's HTML ready, you can now create a new "Datatable" in Solodev. All forms are powered by datatables. This creates the necessary database structure to store form submissions. One of the most unique features of Solodev is that you just have to upload the form HTML. You don't have to worry about creating database columns or any other similar administrative task. Solodev is able to parse your form's HTML and create all of the necessary datatabse fields just from the raw HTML.
To get started with creating a datatable, first navigate to your desired location in the backend and click on "New >> Datatable".
Select "Website Form" as the datatable type and upload your HTML file created above.
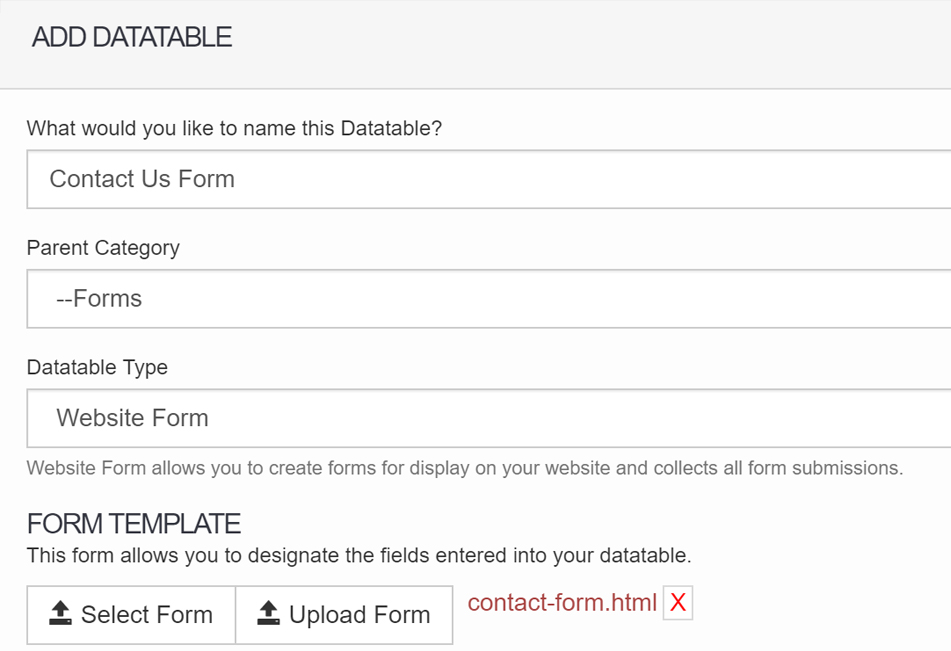
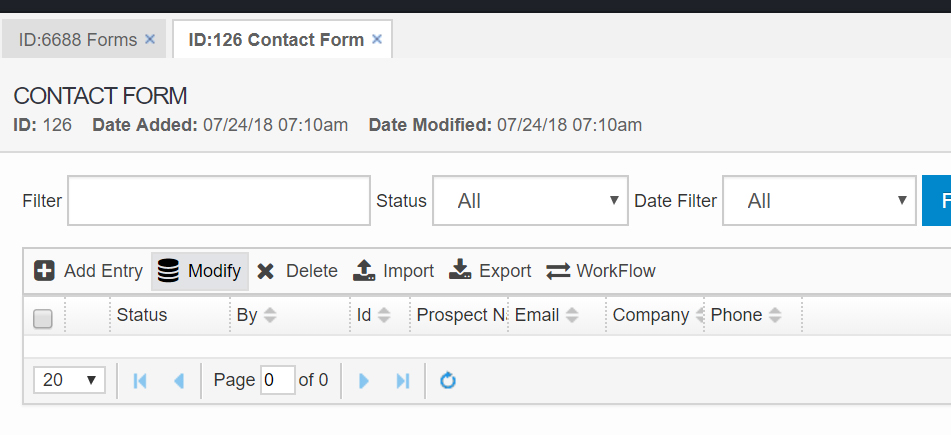
This will create a datatable with all of your fields, giving you an area in the backend to store, view, and edit form submissions.
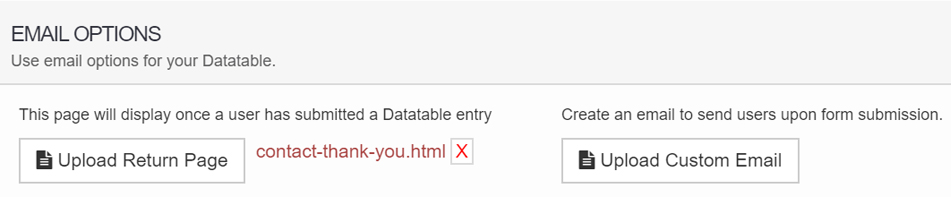
Upload a Thank You/Return Message
You will most likely also show a Thank You message or some other similiar notification when someone fills out a given form. In Solodev, you can do this with a simple HTML file. Use the following code and create a new file called "contact-thank-you.html".
Navigate to your datatable and click on "Modify".
Under "Email Options", upload the above saved form in the "Upload Return Page" field. Click on "Submit" to save everything.
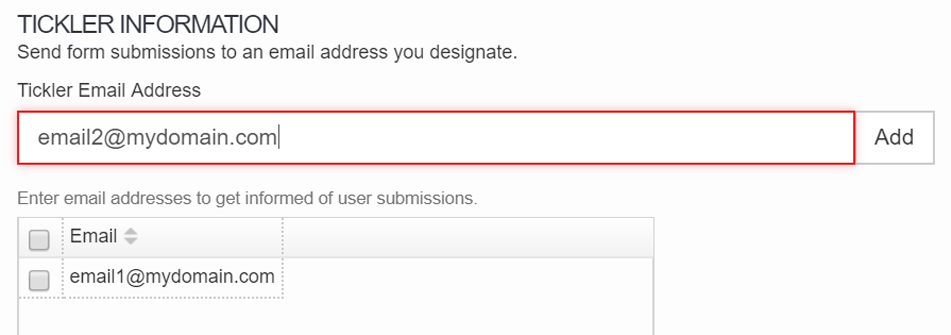
Specify Email Recipients
Similiar to a Thank You message, you will likely want to receive an email notification every time there's a new form submission. With Solodev, this is as easy as specifying an email address.
Navigate to your datatable and click on "Modify". Under "Email Options", there's a field for the "Tickler Information". Specify any and all email addresses you want to get notification upon form submission here. Click on the "Add" button to add a given email address to the list of tickler emails. Click on "Submit" to save everything.
Embed the Form on a Page
With your form's datatable built and configured, you can now embed the form on any given page. This is as simple as navigating to the STML page in question, highlighting the Dynamic Div where you want to insert the form, and clicking on the Datatable from the left navigation.
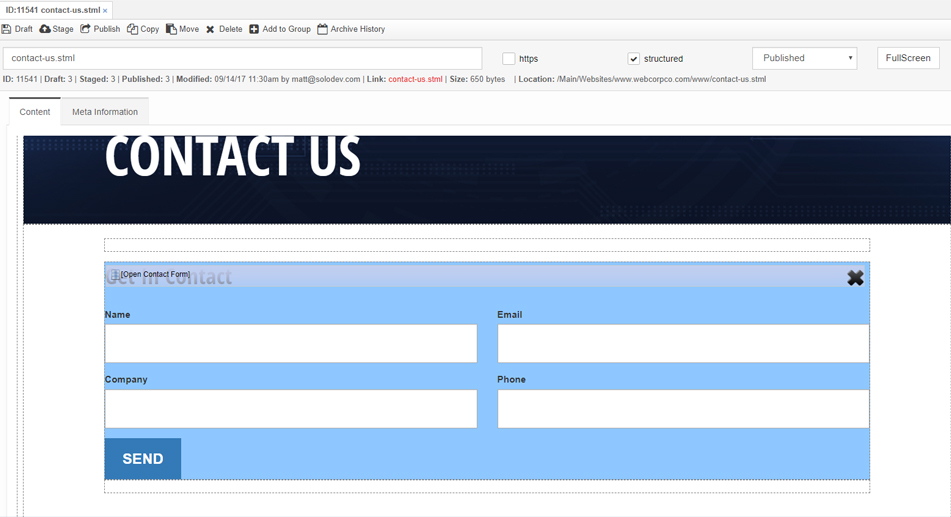
Similiarly, you can use the below shortcode in any of your asset files. Just replace the "ID" value so that it corresponds to the ID of your form's datatable.
Once your form is included in a page, save your STML and you will now have a working contact form.
The above steps can be used to created any type of form. Just customize your form's HTML in the first step to make any unique changes. Don't forget to check out how the form looks on mobile devices by scaling to various sizes!

Scott Madara
Contributions Editor here at Solodev. Want to be featured on the Solodev Blog? Get in touch.
Follow me on Twitter


