Creating an Event Module with Solodev
An events module is a great way to keep your online audience aware of upcoming events. This tutorial will teach you how to build a calendar-based event module in Solodev.

This tutorial covers building an event module in Solodev using shortcodes.
Displaying a calendar of company and industry events on your website adds value to your website and keeps your audience engaged in the activities of your brand. In this article, Solodev will show you the basics of creating an event module in Solodev using shortcodes.
Step 1 - Create your Event Module
Open the folder to which you want to add your event module. Hover over the Add button and select Calendar.
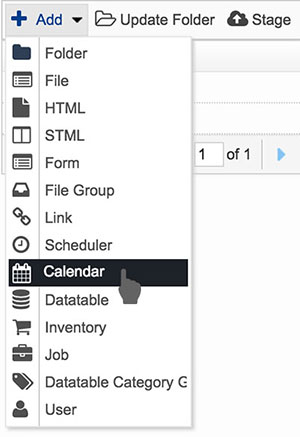
For enterprise users, we suggest creating your modules inside your "Data Center" directory.
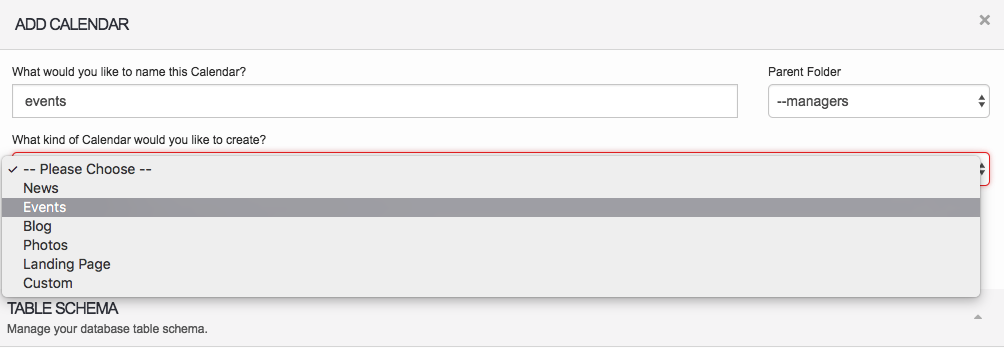
Step 2 - Select your Module type
Select "Events" from the dropdown menu as shown below
Step 3 - Upload your Events Form
Copy and paste the code below to a simple text document with .tpl at the end of the file name such as "event-form.tpl".

Matthieu McClintock
Contributions Editor here at Solodev. Want to be featured on the Solodev Blog? Get in touch.
Follow me on Twitter


