Creating a Blog with Bootstrap
A blog is a great way to add interactivity to your website. This tutorial provides the code you need to build an enterprise-level blog using the Bootstrap framework.


Keeping your users and customers up to date and providing a medium for interaction is essential to success on the web. Although the concept sounds great, the design of the blog, and the quality of its content, will determine the success or failure of your blog. This article covers the design of the blog and will provide you with the steps to create a blog for your website using the Bootstrap framework.
Below is the HTML, CSS, and JavaScript required.
Create your Blog Overview Page
The blog overview page will display all of your blog posts as shown above. When a blog post is clicked it will direct the viewer to a detail page we will create in the next section.

Step 1 - blog-overview.html
Add the HTML below to your web page
Step 2 - blog-overview.css
Download the CSS below and include it in your web page
blog-overview.cssStep 3 - Add the includes below to your Blog Pages
Create the Blog Detail Page
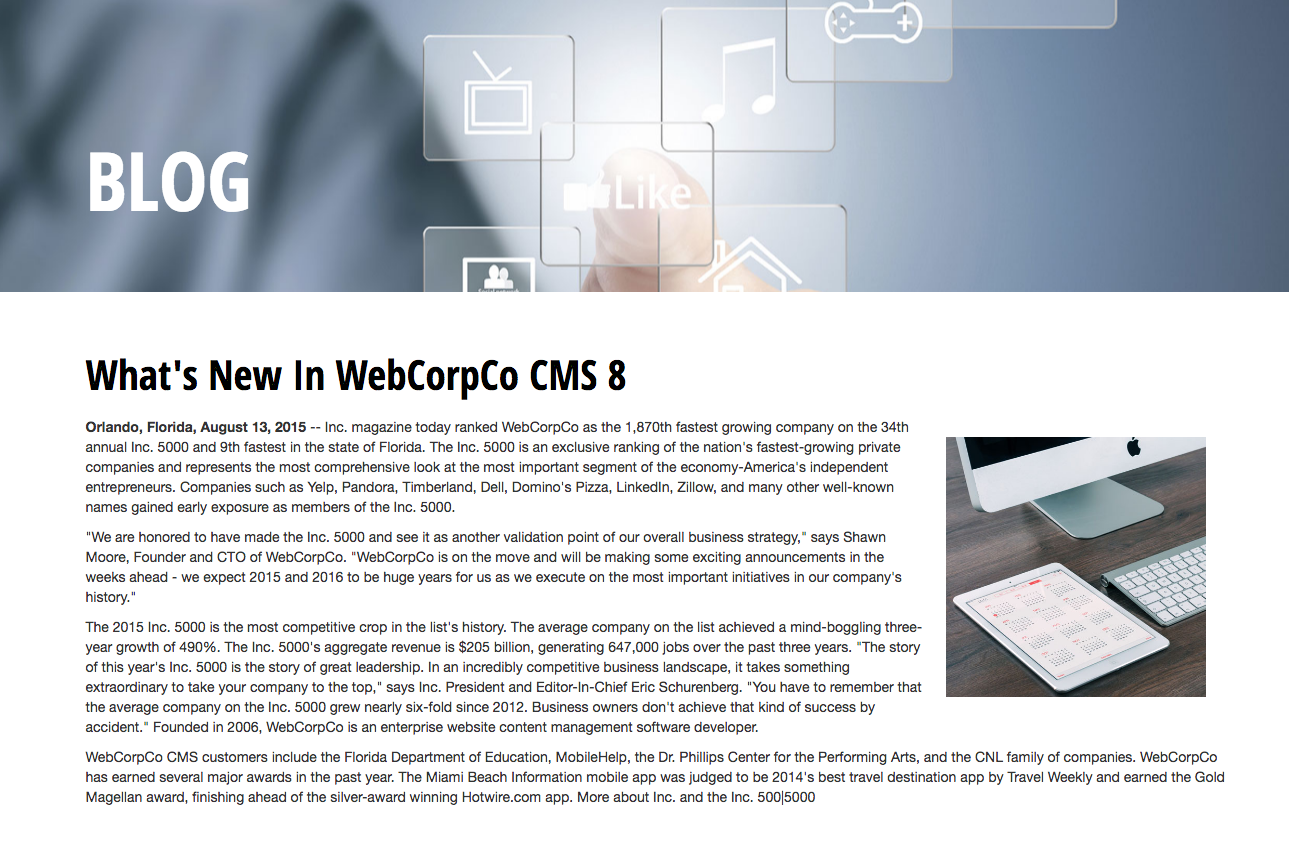
After a viewer clicks on a blog post from the Blog Overview page, they will be directed to a blog detail page with the full blog post's contents. It contains a header, sub header, graphic, description, etc.

Step 1 - blog-detail.html
Add the HTML below to your web page
Step 2 - Add the includes below to your Blog Detail page
Blog Overview Page
Blog Detail Page

Matthieu McClintock
Contributions Editor here at Solodev. Want to be featured on the Solodev Blog? Get in touch.
Follow me on Twitter


