Introducing Embedded Swagger API in Solodev
APIs are powerful tools to help you leverage your data as needed. Solodev has introduced a new embedded Swagger API to allow you access to all of your content within the system, giving you the ability to build dynamic apps including headless solutions.
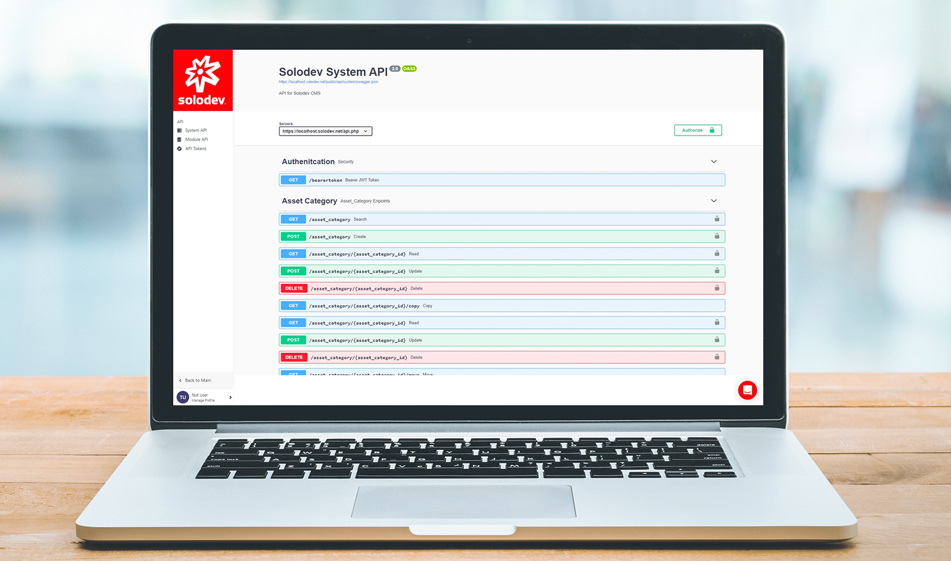

Solodev empowers users to extend their data and content using a built-in Application Programming Interface (API). Solodev provides the user with two API sets:
- Solodev System API – allows users to store and deliver structured content using a headless version of Solodev CMS. With the System API, users can create and globally manage CMS objects (folders, files, calendars) from the backend using the appropriate routes. For example, users can leverage the search route to search for all modules of the calendar type across all websites.
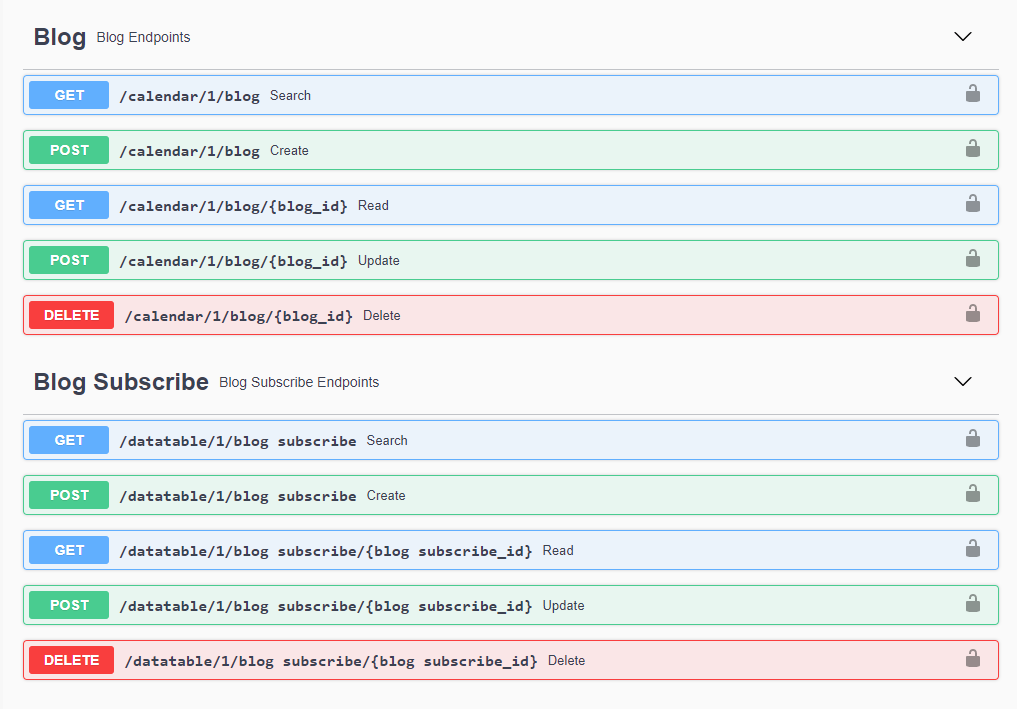
- Solodev Module API – allows users to individually target different module types custom to their environment for management and expose them to external publishing channels such as websites and mobile applications.
In Solodev, you can easily access all of your content within the system with the new embedded Swagger API. Swagger UI generates interactive API documentation that lets your users try out the API calls directly in the browser.
Generating API Keys
In order to authorize requests to both API sets - the system API and the module API - the user needs to generate an API key pair. Here are the steps to generate an API key in Solodev:
Step 1
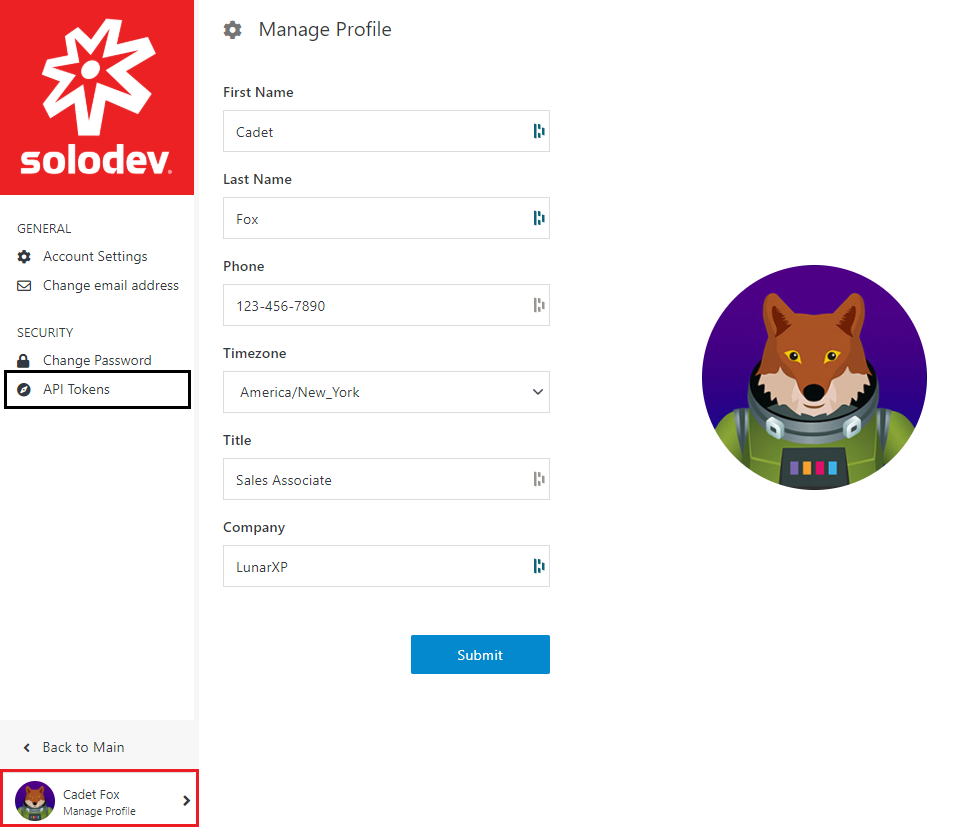
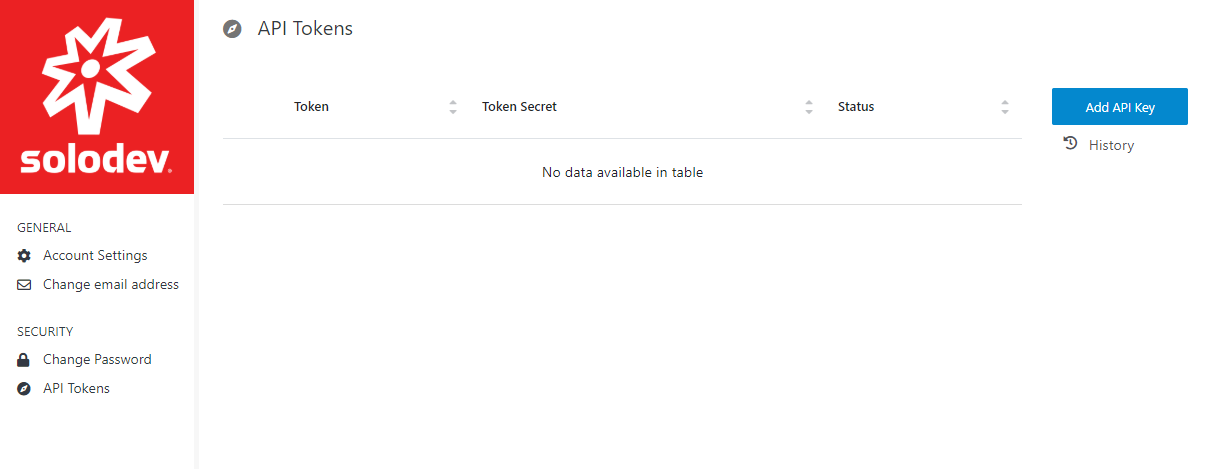
Login to Solodev CMS and choose your user profile then under the Security section in the dashboard, click on API Tokens:
Step 2
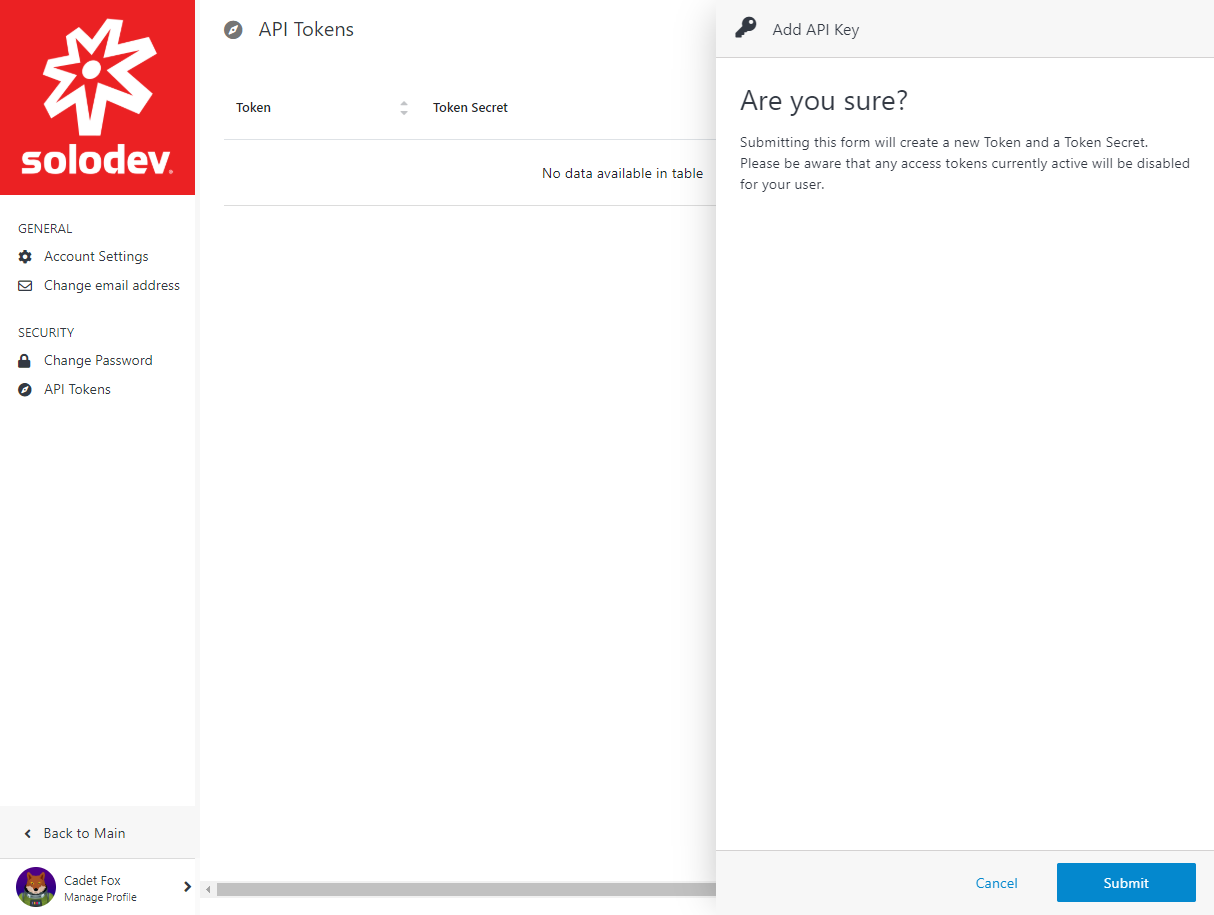
Click on the Add API Key button to generate a key. When you click on the button, a warning modal will pop up. Click on Submit and a new key will be generated and if you had any previous access tokens, they will be disabled. You'll have a token key and a token_secret key. You can either write/copy these keys somewhere or login again to see them under your API Tokens section.
HTTP Basic Authentication
HTTP Basic Authentication using API tokens are the easiest way to authenticate a request. Once you have an API key, you can authenticate a request using the key with the following steps:
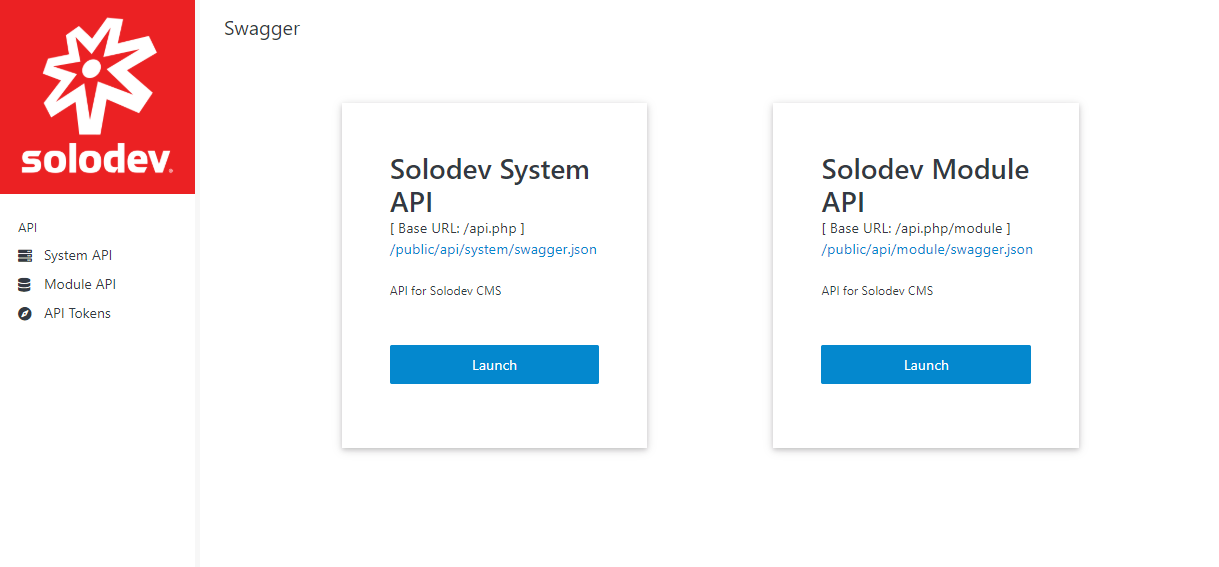
- Launch the Solodev Module API or Solodev System API.
- Open the GET route for the bearertoken. Click the “Try it out” button and enter the values for the token and token_secret then click Execute to generate a response.
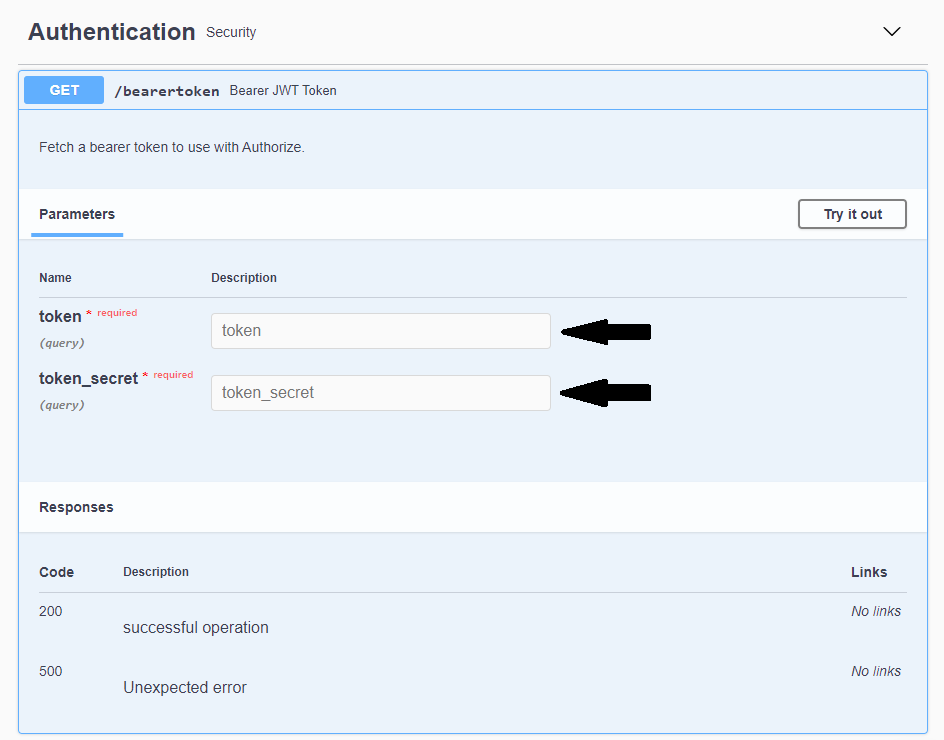
- Under the Response Body section, copy the token value without the quotes
- Click Authorize and paste the token value into the textbox.
- Click Authorize.
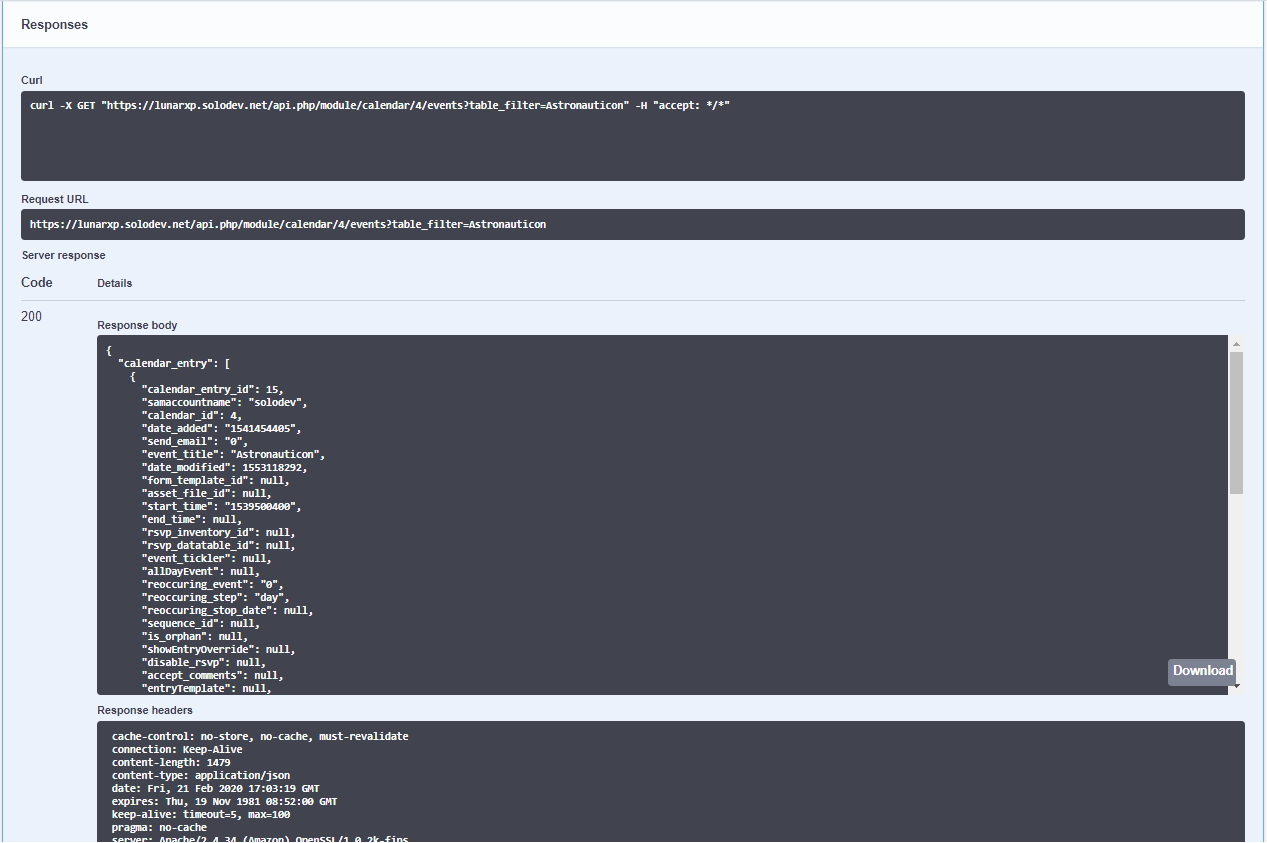
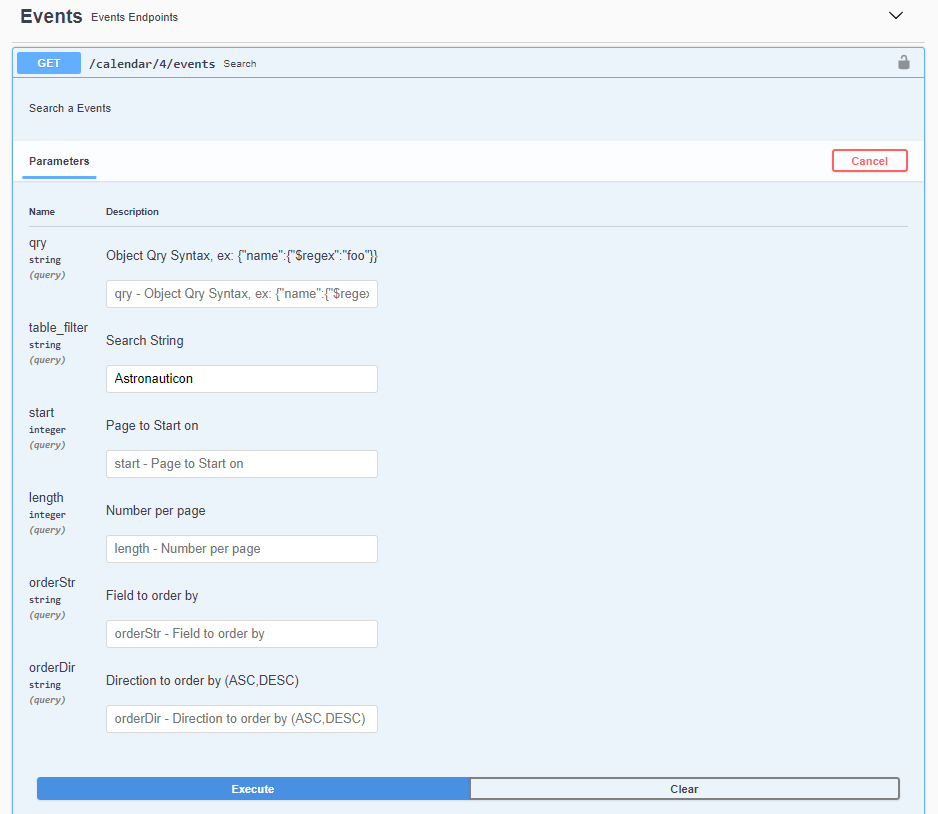
Using the API
To use the API, open any one of the end points below the Authentication section. For example, to acess the Events endpoints, go to Events, click on Try it out, specify your search parameters then click Execute.
Results: